Should you take the Do It Yourself Approach?
First, a story about one of the ways I’m completely into D-I-Y.
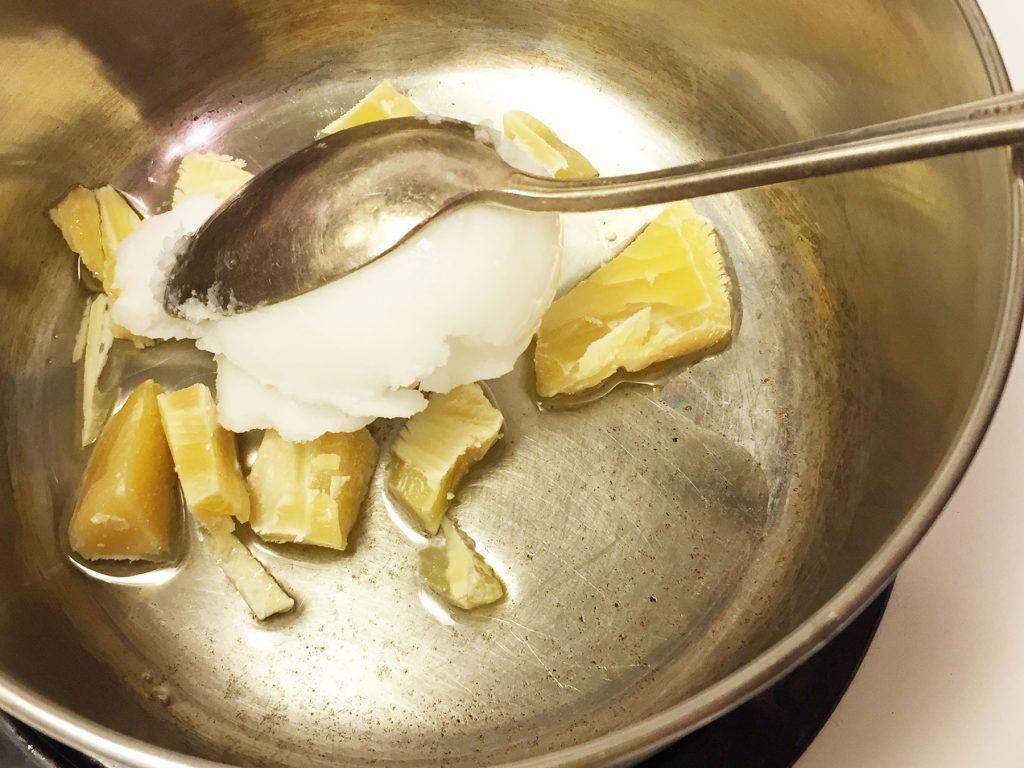
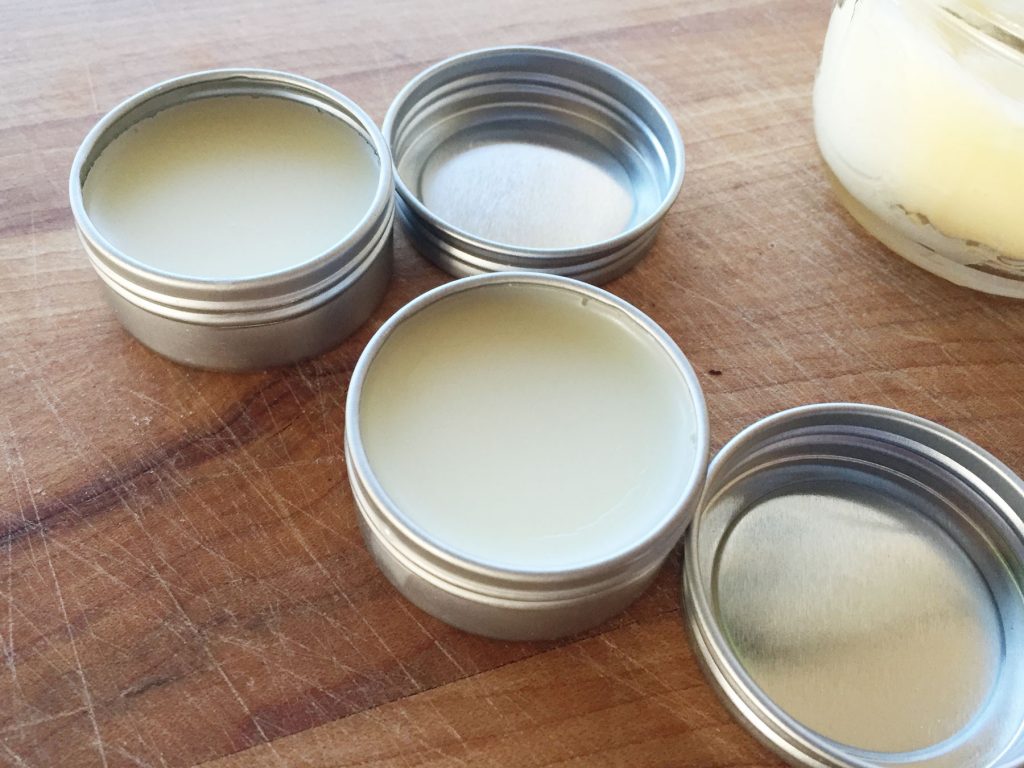
I spent a relaxing Sunday evening making homemade spearmint lip balm. The recipe is at the end of this post – patched together from various sites – and based on what I had on hand. I was doing it as an experiment. Here’s what I found out:
- It was much simpler and not as fussy as I thought it might be. Essentially (pun intended) you slowly melt together the “carrier” oils with the beeswax, add a few drops of your choice of essential oil, pour out into container and allow to solidify. And voila – you are done!
- That said, gathering the ingredients is part of the process: I had spearmint oil and coconut oil on hand, and had to go buy the almond oil and beeswax. I did not have a double boiler, so I improvised.
- I only purchased 2 metal tins to start with, not having a clear idea of how easy it would be to make, nor of the volume /proportions. I have an immense amount of almond oil leftover and so just yesterday went back and bought 10 more tins:)
Ultimately, it was quite a pleasurable experience. I like the mindset of being an alchemist and can see myself tinkering some with flavours, and labels (!) in the future.
Did I save money?
On the ingredients cost per volume, and not counting my time, then yes, no doubt. With the leftovers and the newly acquired extra tins, the plan for this coming Sunday is to make some more lip balm. [ Once of course, the fruit cakes are taken care of — the fruits have been soaking in rum for 3 weeks 🙂 ] This increased my costs a wee bit.
I purchased the beeswax and almond oil at the delightful Soap Dispensary (where you can refill many things to your heart’s content). The same size tin of pre-made lip balm cost $6.
My costs were: $2.50 per tin, $7.00 for the almond oil and I already had the coconut oil and essential oil on hand. Those probably cost $12 and $14. So say $35.50. or roughly $40 with tax. I don’t know how many tins I could make with the whole lot, but I suspect at least about 30 offhand. Who knows, maybe 60. I’m a newbie. So substantial savings on the ingredients front. My time, research, purchase and make = 2-3 hours about. Without labels. That will probably be a black hole time-suck altering the course of the universe.
THE STEPS INVOLVED
- Research what I have to do (find a gadzillion blogs right away – process quick and easy)
- Purchase ingredients and containers
- Set aside time and make
It happens to be the holiday season, so if you’re on my nice list – keep an eye out;)…

How does this relate to a D-I-Y your business website?
3 factors to consider:
1. Budget
If you have a very small budget, then of course this goes without saying. Go with something like WordPress.com (WP – my first choice) or SquareSpace where you don’t have to mess around too much.If you’re selling products, Shopify is a good choice. (They also have a plug-in for WP). The reason I would recommend WordPress.com first is that if your business takes off, then your database can be readily imported into a WordPress.org site. The .org means that it is a self-hosted website and that it can look however you want, do whatever you want it do:)
2. You enjoy it and take pleasure in learning.
Building your own custom(ized) website involves a blend of tech and design. Do you enjoy opening up Photoshop and tweaking your images? Do you enjoy figuring out what’s under the hood? Do the words HTML5, php, css excite you? Then D-I-Y might be for you.
3. How many steps will it take and does it really save you money?
Yes, to the latter, if like me and my lip balm, you don’t count your time. How much? That depends on who you would hire to execute your site otherwise. You can get quotes from $500 to $50,000 for what appear to be the same thing. In general, you get what you pay for, and at the higher end, (which of course can also have more zeroes tacked on at the end), you are not buying a “website”, but a relationship with a company that will hopefully help you grow and expand your business, and, they take care of all the details for you. They might even suggest ways for your business to prosper that you hadn’t considered.
THE STEPS INVOLVED
- Research what free/cheap platforms are out there.
- Purchase domain name ($7-20)
- Decide on platform and theme — buy a premium theme if you want to go fancy ($70-$150)
- Enter your content.
The last point can is deceptive and can be also eat up a lot of time. Even though you don’t need to know how to code, you do have to: write content, write headings, style content, take/buy photographs, edit photographs…not to mention the marketing angle SEO and all whatnot. Also it can be frustrating if you don’t know how to use the CMS (content management system) that well, so have patience with that part. And remember that you are going to have it end up being like the template — not something custom.
But basically it can be done, if, of course, being much more time consuming than making lip balm…;)
On the flip side, if you are looking at setting up a WordPress site yourself, I just got an email from iThemes pointing out the over 80 (EIGHTY!) essential WordPress website owner checklist tasks that are involved in setting a up a WordPress Site.
I got exhausted just reading it, and basically I know what I’m doing (ahem).
Of course the process can be streamlined when you know what you’re doing and certain steps eliminated if you pay for certain services.
Leaving perhaps a mere 60 steps:)
Take Away Thoughts:
1. TIME. What is your time worth? And, cliches being oft repeated truths, where is your time best spent?
2. FUN. If you don’t take pleasure in either the tech or the visual…then DIY isn’t for you.
3. FOCUS. You’re using tinkering with your website as an excuse to delay the process of actually running/launching your business.
Even if you can do something it doesn’t always mean you should. Case in point – we are quite efficient when it comes to using Illustrator and really enjoy it most of the time, but for relatively quick and dirty icons etc, we will turn to Getty images (iStock) or other sources first, and then modify rather than create an illo from scratch.
Ultimately it might come down to this:
Is this a hobby or a business? If it’s a hobby, then probably the D-I-Y (or hiring your neighbour’s daughter who lives in the basement) approach is the way to go.
Or perhaps if your are a small start-up and you’re not sure of your metrics. Start a free blog, write about your stuff, see if there’s an audience for what you are doing / selling.
If it’s a business that’s already underway, unless you have a keen interest in learning and doing the tech and design aspect of things, it’s probably best to hire a pro. (ahem:)
=============================
Lip Balm Recipe I used:
- Approx 2 TBS beeswax*
- 3 TBS coconut oil
- 3 TBS almond oil
- 6-10 drops spearmint essential oil.
On low-med heat, melt the beeswax and oils together with a chopstick.
When melted, remove from heat and add a few drops of spearmint essential oil.
Poured into the 2 lip balm 1/4 oz containers and the rest into a leftover small mason jam jar. Let set. Took about 2-3 hours before it seemed fully solid.
Notes: Approx 2 TBS beeswax – I cheaped out and bought the beeswax in bulk – so chopping off a hunk that more or less resembled a tablespoon was the truth of the matter. For the next batch, I have splurged on the beeswax pellets.
The essential oil I had on hand was spearmint. Any flavour will do. Some say it can be damaging for your lips. I like the scent. Also, the adding of drops is not an exact sciene.
A Few Lip Balm Recipe Links:
2 (yes 2) ingredient cosmetics from the venerable David Suzuki Foundation – DIY Lip Balm & More
And 2 other semi randomly chosen links:
Every Day Roots DIY Lip Balm – I like the graphic/drawing they’re using
Natural Skin Care Junkie DIY Kits – extensive and detailed list of ingredients, like myrrh – going on my to do list for sure. Myrrh – yum